Concrete Driveway Pitting
Driveway pitting is a common and frustrating issue for homeowners. It can make a driveway look unsightly and reduce its lifespan. If left untreated, those tiny holes can lead to larger cracks and structural damage. Whether it’s due to weather conditions, poor installation, or natural wear and tear, addressing pitting promptly is essential. In this guide, we’ll explore the causes of driveway pitting, how to prevent it, and the best methods for DIY and professional repairs.
H2: What Causes Driveway Pitting?
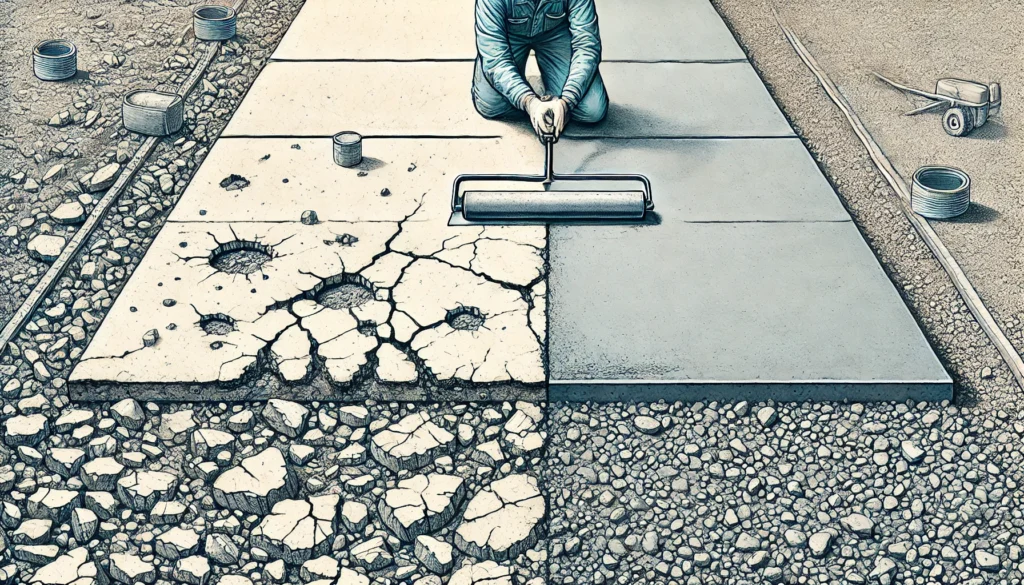
Driveway pitting, also known as spalling, happens when small pits or holes form on the surface of concrete. Here are the main reasons behind it:
- Freeze-Thaw Cycles: Repeated freezing and thawing of water inside the concrete causes expansion and contraction, leading to surface damage.
- Poor Concrete Mix: Incorrect proportions of water, cement, or aggregate during mixing can weaken the concrete structure.
- Improper Curing: When concrete isn’t cured correctly, it lacks the strength to withstand heavy use and environmental conditions.
- Aging: Over time, even well-installed driveways will deteriorate due to the constant exposure to traffic and weather.
H2: How to Prevent Driveway Pitting
Taking preventative steps during installation and maintenance can significantly reduce the risk of pitting.
- Use the Right Concrete Mix: Always follow local guidelines for concrete ratios based on the region’s climate.
- Ensure Proper Curing: Allow ample time for curing to strengthen the concrete. This process may take up to a week depending on weather conditions.
- Apply a Concrete Sealant: Regular sealing prevents water infiltration and protects the surface from wear and tear.
- Avoid Harsh Chemicals: Deicing salts can worsen pitting. Opt for alternatives like sand or cat litter for traction.
H2: DIY Driveway Pitting Repair: Step-by-Step Guide
For minor pitting, DIY repairs are manageable and can save costs. Follow these steps to restore your driveway:
- Clean the Surface: Use a stiff brush and hose to remove dirt and debris from the pits.
- Prepare the Epoxy Filler: For small pits, load premixed epoxy into a caulking gun.
- Fill the Pits: Squeeze the epoxy into each hole, leveling it with a small trowel.
- Cure and Seal: Allow 24 hours for curing before applying a concrete sealant.
For larger pits, mix concrete resurfacing compound and use a chisel to widen the pit’s bottom to improve adhesion. Fill, level, and let cure for 48 hours.
H2: When to Call a Professional
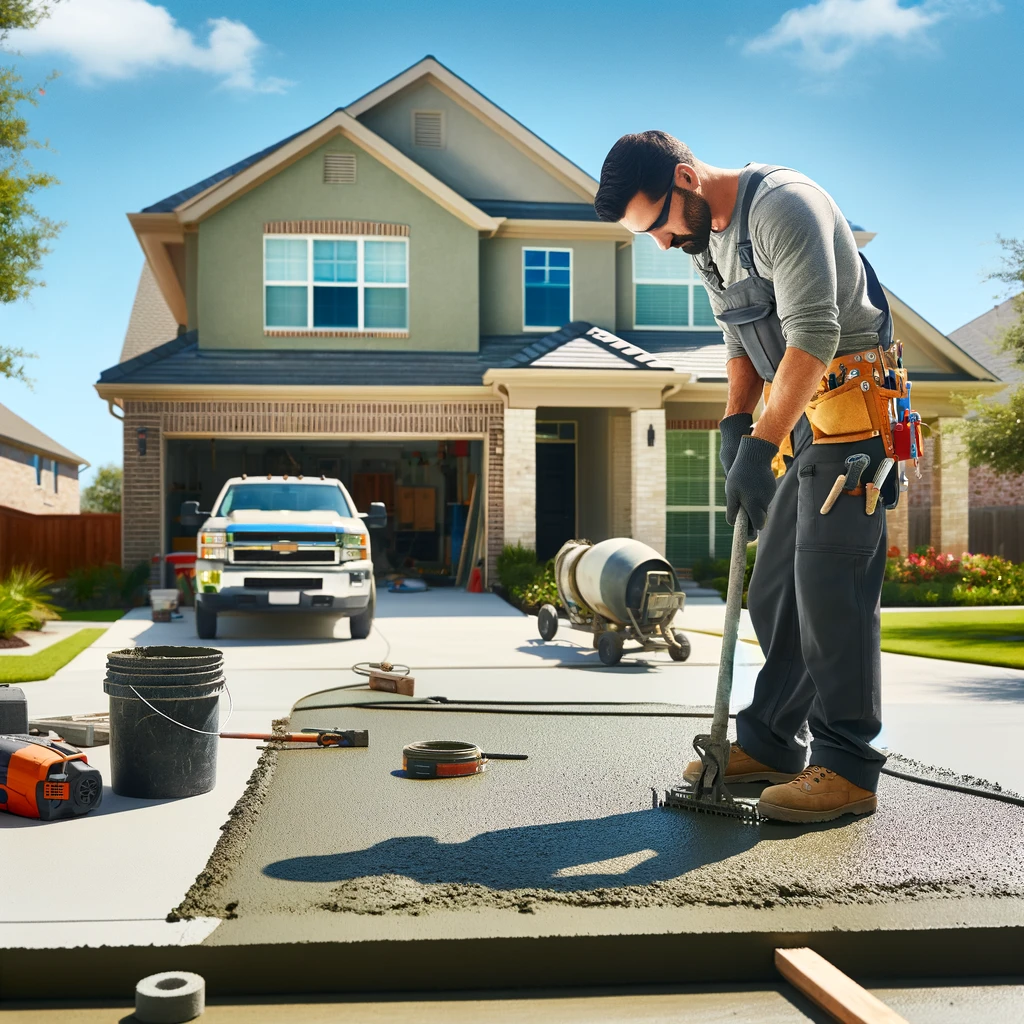
While small pitting can be handled DIY, larger pitting or significant structural damage requires professional attention. An experienced contractor can assess the extent of damage and apply advanced solutions like resurfacing or complete replacement if necessary.
H2: Common Mistakes to Avoid During Driveway Repairs
- Skipping the Cleaning Step: Failing to remove all debris will prevent the filler from bonding properly.
- Incorrect Epoxy Use: Using non-concrete-specific fillers can lead to premature cracking.
- Rushing the Curing Process: Always allow enough time for curing based on manufacturer recommendations.
Conclusion
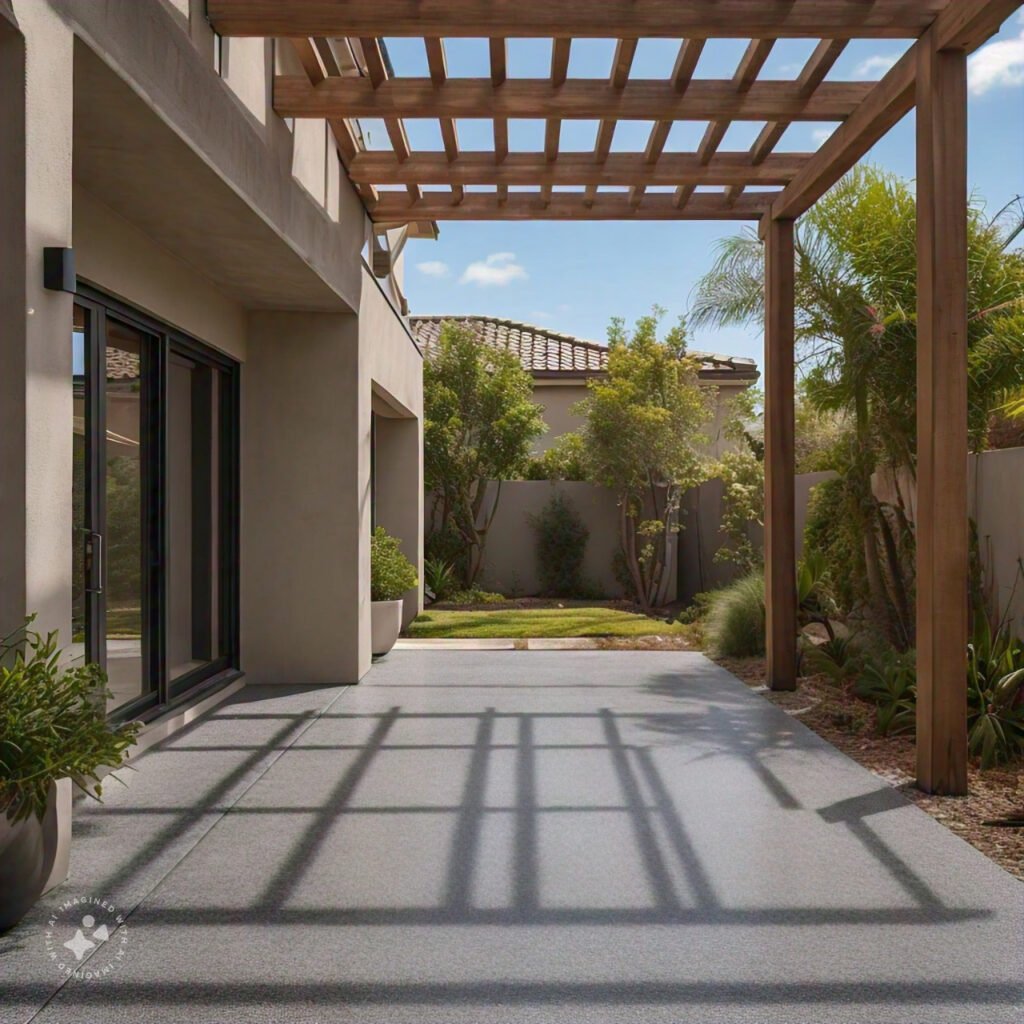
Driveway pitting can be a significant headache, but with proper care and timely repairs, it’s manageable. Preventing pitting starts with understanding its causes, using the correct materials, and maintaining the surface regularly. When in doubt, consult a professional to ensure your driveway remains durable and attractive for years to come.
FAQs
- What is the best filler for concrete driveway pitting? Use a concrete-specific epoxy or resurfacing compound for the best results.
- Can I prevent driveway pitting with sealant? Yes, applying a concrete sealant annually can protect against moisture infiltration and extend the driveway’s lifespan.
- Is driveway pitting dangerous? If left untreated, pitting can worsen and lead to larger cracks and trip hazards.
- How long does DIY driveway pitting repair last? With proper application and sealing, DIY repairs can last several years.
- Can I drive on a freshly repaired driveway? Wait at least 24-48 hours before driving on a newly repaired surface to allow proper curing.


